EVERYONE and I mean everyone has access to a camera right at their fingertips these days. It’s called a cell phone and most people use one to document their lives with it. As advanced as these tiny cameras are, they can still fall quite short of taking a fabulous photo like the more traditional DSLR’s and mirrorless cameras. However, that being said, a lot of the issue comes down to user error.
If you don’t know how to use your DSLR and its many functions, your photos won’t look any better than a less expensive point and shoot camera. Similarly, if you don’t know the complete functionality of your cell phone camera, you are missing out on all the great things it can do for you!

With every phone upgrade comes a better camera. The technology is always changing and improving. Most models over the last couple of years have a great camera with similar functions. iPhones are a popular choice for many, but when I purchased my phone, the word on the street was Android had the better camera. I believe now with the latest iPhone, the camera and its functions are excellent.
So let’s start with techniques, then we can get into functions.
Let’s talk about composition.
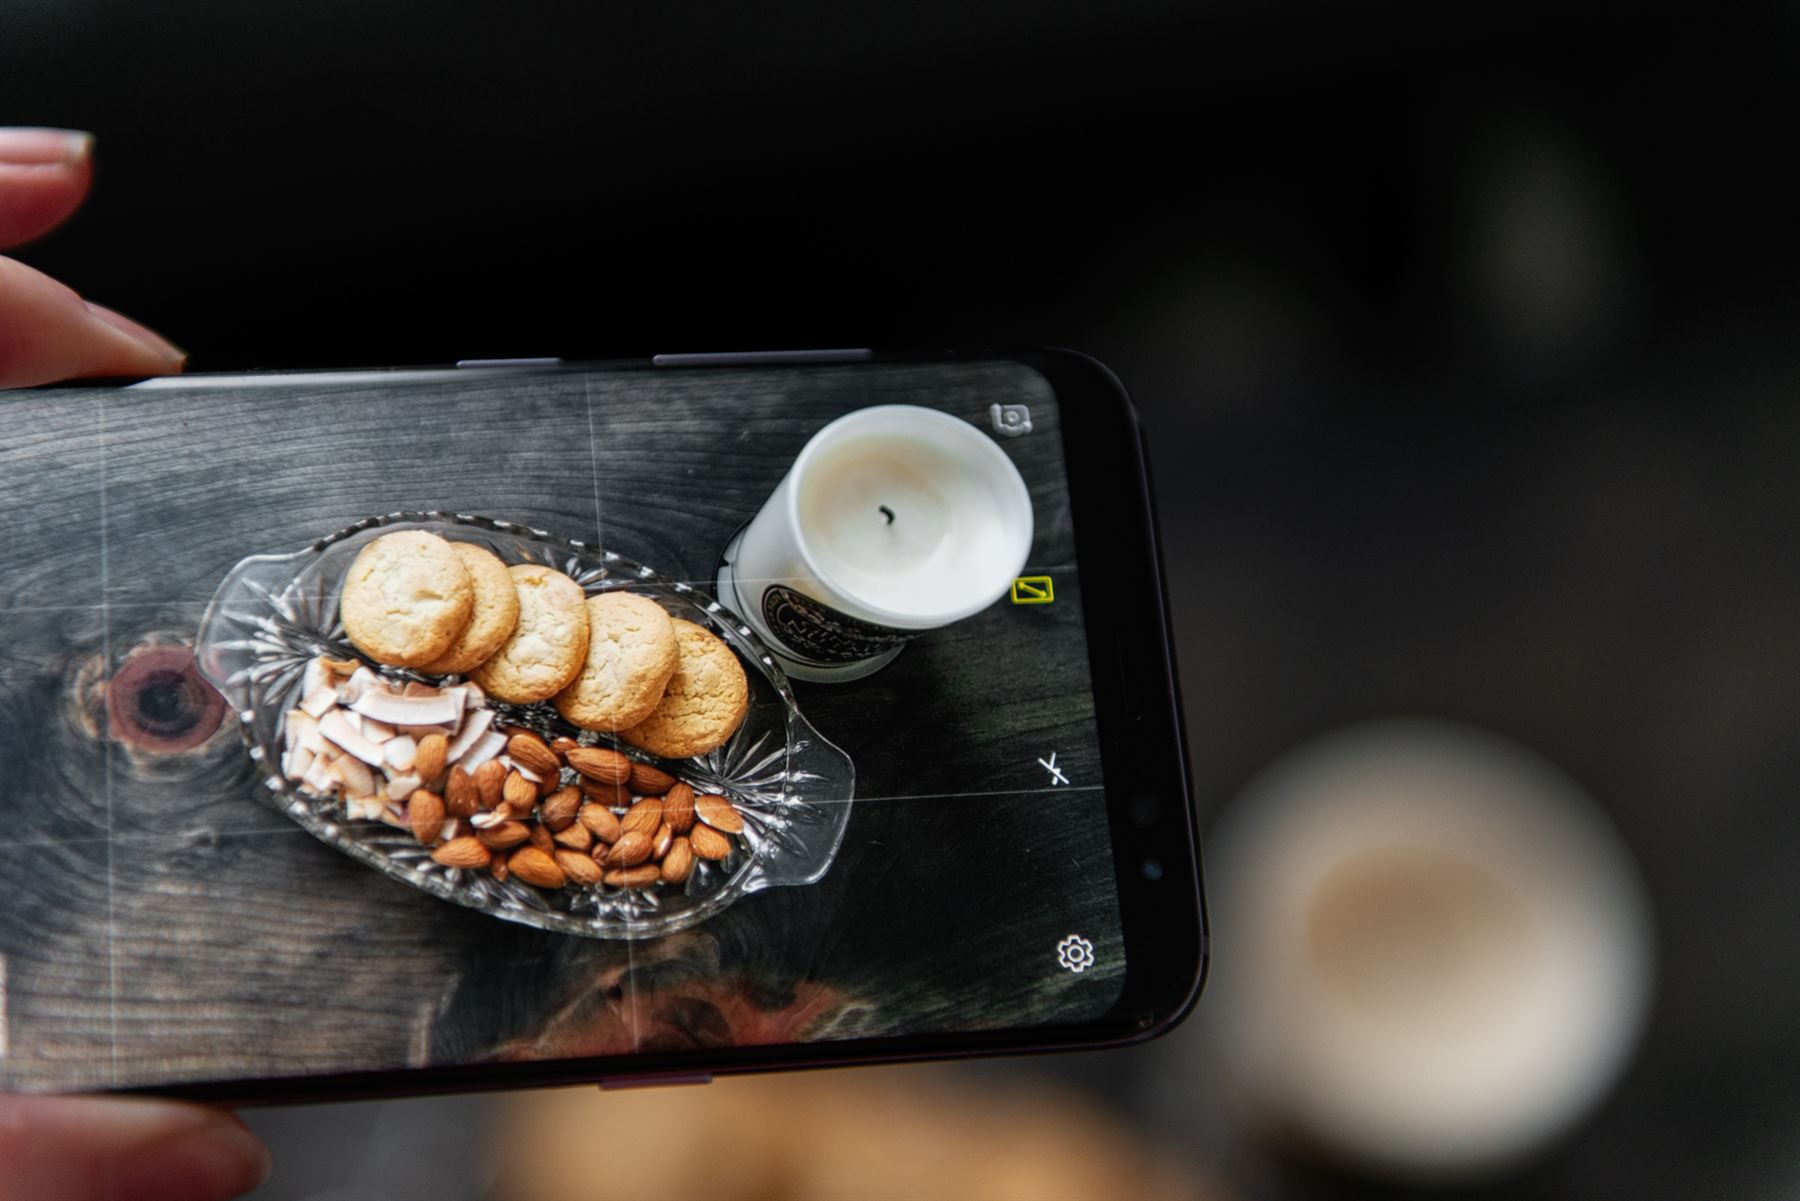
Even if you are not a photographer, you can start to think like one. When composing a photo we often like to use the rule of thirds. The rule of thirds is a photographic composition principle that says an image should be broken down into thirds, both horizontally and vertically, so you have nine parts in total. The way to help you do this is by turning on the grid lines on your phone. It breaks up your viewfinder into 9 squares, so you can practice the rule of thirds with your subject. To find it on the iPhone, go to settings, scroll down and hit ‘turn on grid’ For galaxy, same. Go to settings scroll down and switch to grid on.
Setting your camera’s focus.
Most phone cameras focus on the foreground when you are shooting. Not every pic you take will have a clear subject. To focus properly, open your camera and tap on the screen where you want your main focus to be. Usually a circle or square will appear to show you where you are focusing. This is particularly helpful when trying to capture a moving subject. If you tap on the subject just before pressing the shutter button, chances are you will have less blur.

Find your subject.
When you have a clear subject to focus on, try to make it more interesting by having that subject stand out. If it is a person, as mentioned earlier, try and use the rule of thirds to add interest to the frame. If your subject is not filling the frame entirely, it’s generally more pleasing to the eye to have some negative space to the left, right, top or bottom of the frame. This helps the subject stand out more.

Don’t worry if you didn’t get your subject quite right in the composition you were planning, that’s what the crop tool is for. Use it!
Find interesting perspectives.
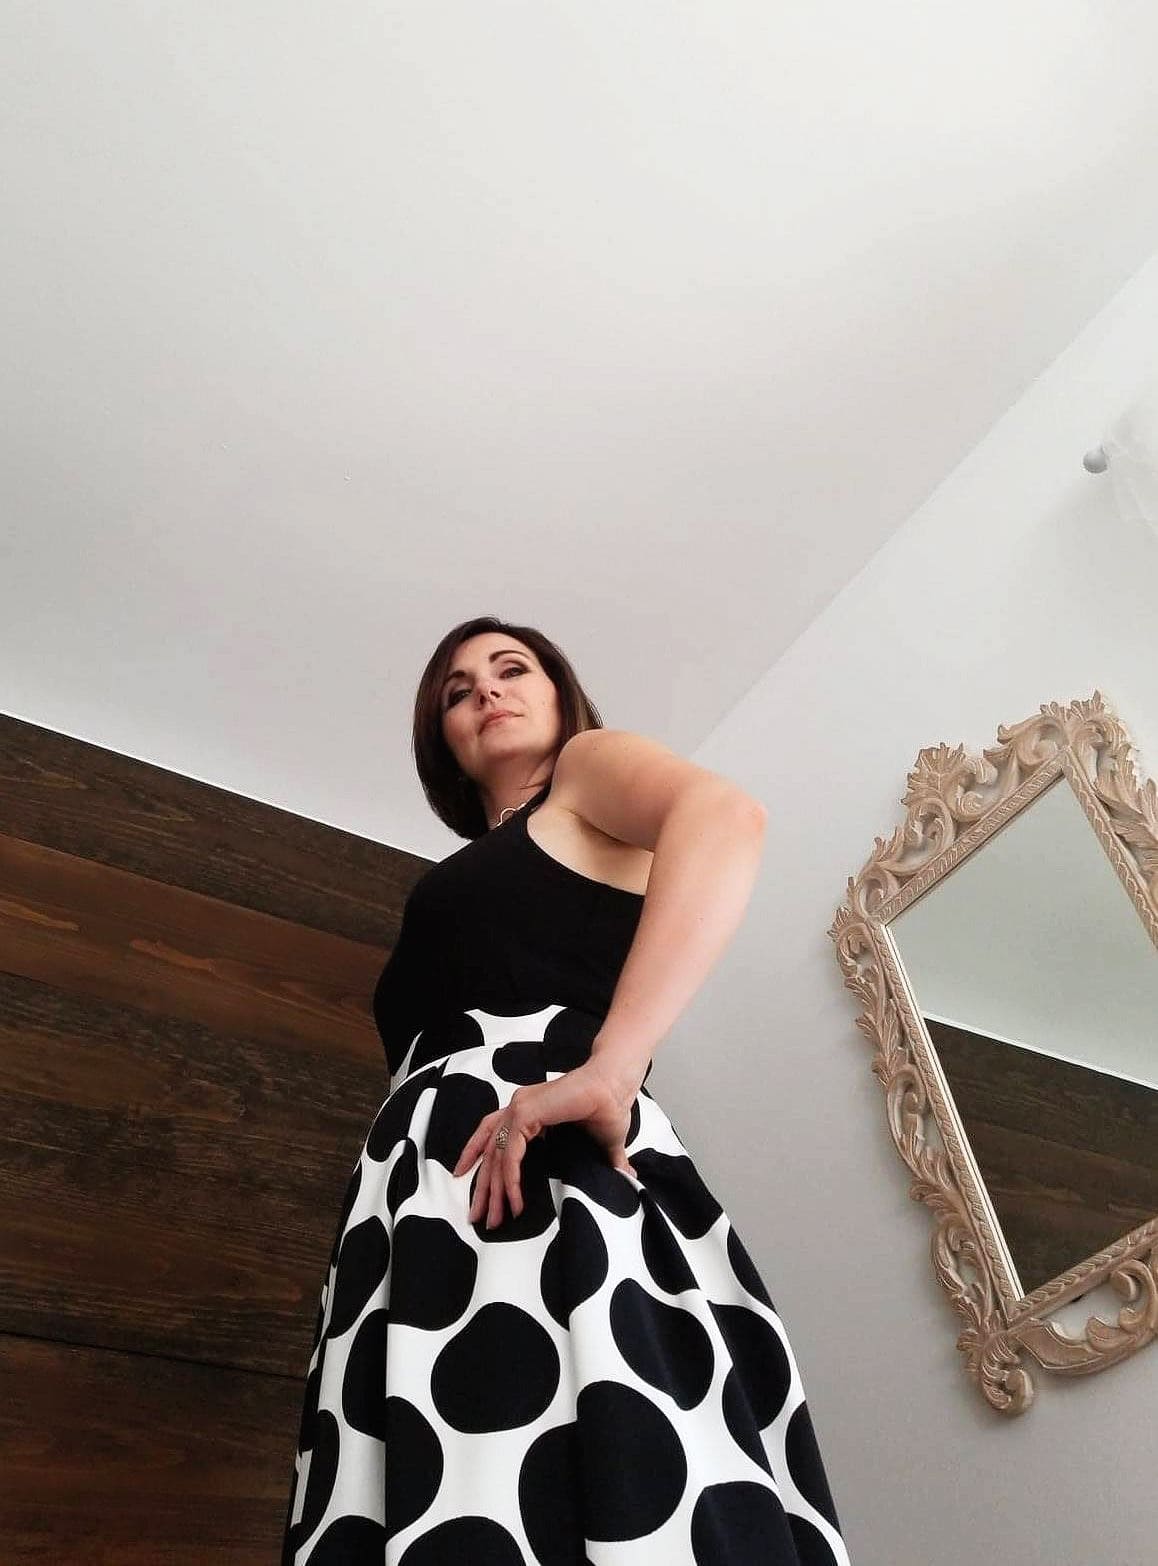
Shooting your subject straight on all the time can get a little boring. Why not crouch down below, get way above your subject or shoot through some objects to create natural, yet interesting framing.

Set up a shot.
Not all your shot’s will be candid and natural, although these are some of the most interesting shots in many opinions. You might be trying to set up a product shot, or just want to take a nice pic of your steaming latte made pretty by your barista. Setting up your shot may require a few props. Consider using items that tie in to the colour scheme of your subject or surroundings and make sense with the photo.

Natural light is often very important for set ups and frankly all shots with cell phones. Cell phone flash is normally very harsh and un-natural looking especially at night. Find a good source of natural light, near a window or window light reflecting off of white walls for a nice bright and airy look. Of course being outside has the best light. Indoors or out, avoid back lighting your subject, unless you are deliberately going for a silhouetted look, or by using manual settings on your camera to help combat this. When you take a photo of a person standing with their back to the window, your subject will most likely appear dark and the window very bright. Our eyes are naturally drawn to the brightest point in a photograph, so unless you don’t want people to notice your subject, avoid this.

Avoid using zoom.
Although it’s tempting to zoom in on a subject when you are further away, most of the time when we do this, the subject will appear blurred or pixelated. It’s better to zoom in as little as possible, then crop later to avoid losing detail.
Keep a clean lens.
This may seem like a no-brainer, but unlike professional lenses that usually have a cap on when not in use, our cell phones linger in the bottom of purses and back pockets and accumulate dust, dirt, fingerprints and various other non-desirable ‘coatings’. Use a soft cloth such as microfiber to periodically give it a wipe.

Editing.
The pro’s do it, so why can’t you? You can do so much in camera editing as well as downloading various apps to help you create a spectacular phone photo. One of my favourite apps for editing is Photoshop Express. Another is Photo Studio Pro. There are tons of apps out there for editing though. You can touch up everything from facial blemishes to making your food look magazine worthy. Check out this post to see some of the best free and inexpensive ones out there.

So now that you know how to compose, set up and edit a cell phone photo, what functions within your camera can make your life easier?
Have you opened up your default camera apps to see what they offer? My Samsung has some great options. When you open up your camera and swipe right on the screen, You will see: Auto, Pro, Panorama, Selective focus, Slow Motion and hyperlapse (more for video) Food, virtual shot, Beauty face and dual camera. The Pro function allows you to adjust white balance, tone, focus manually, shutter speed, ISO and metering mode. Now unless you are willing to play, or already have an idea what these settings do, they might take up a lot of your time trying to figure them out. However, if you are in a low light situation or are trying to capture a fast moving subject, they might be worth looking into and practicing with.
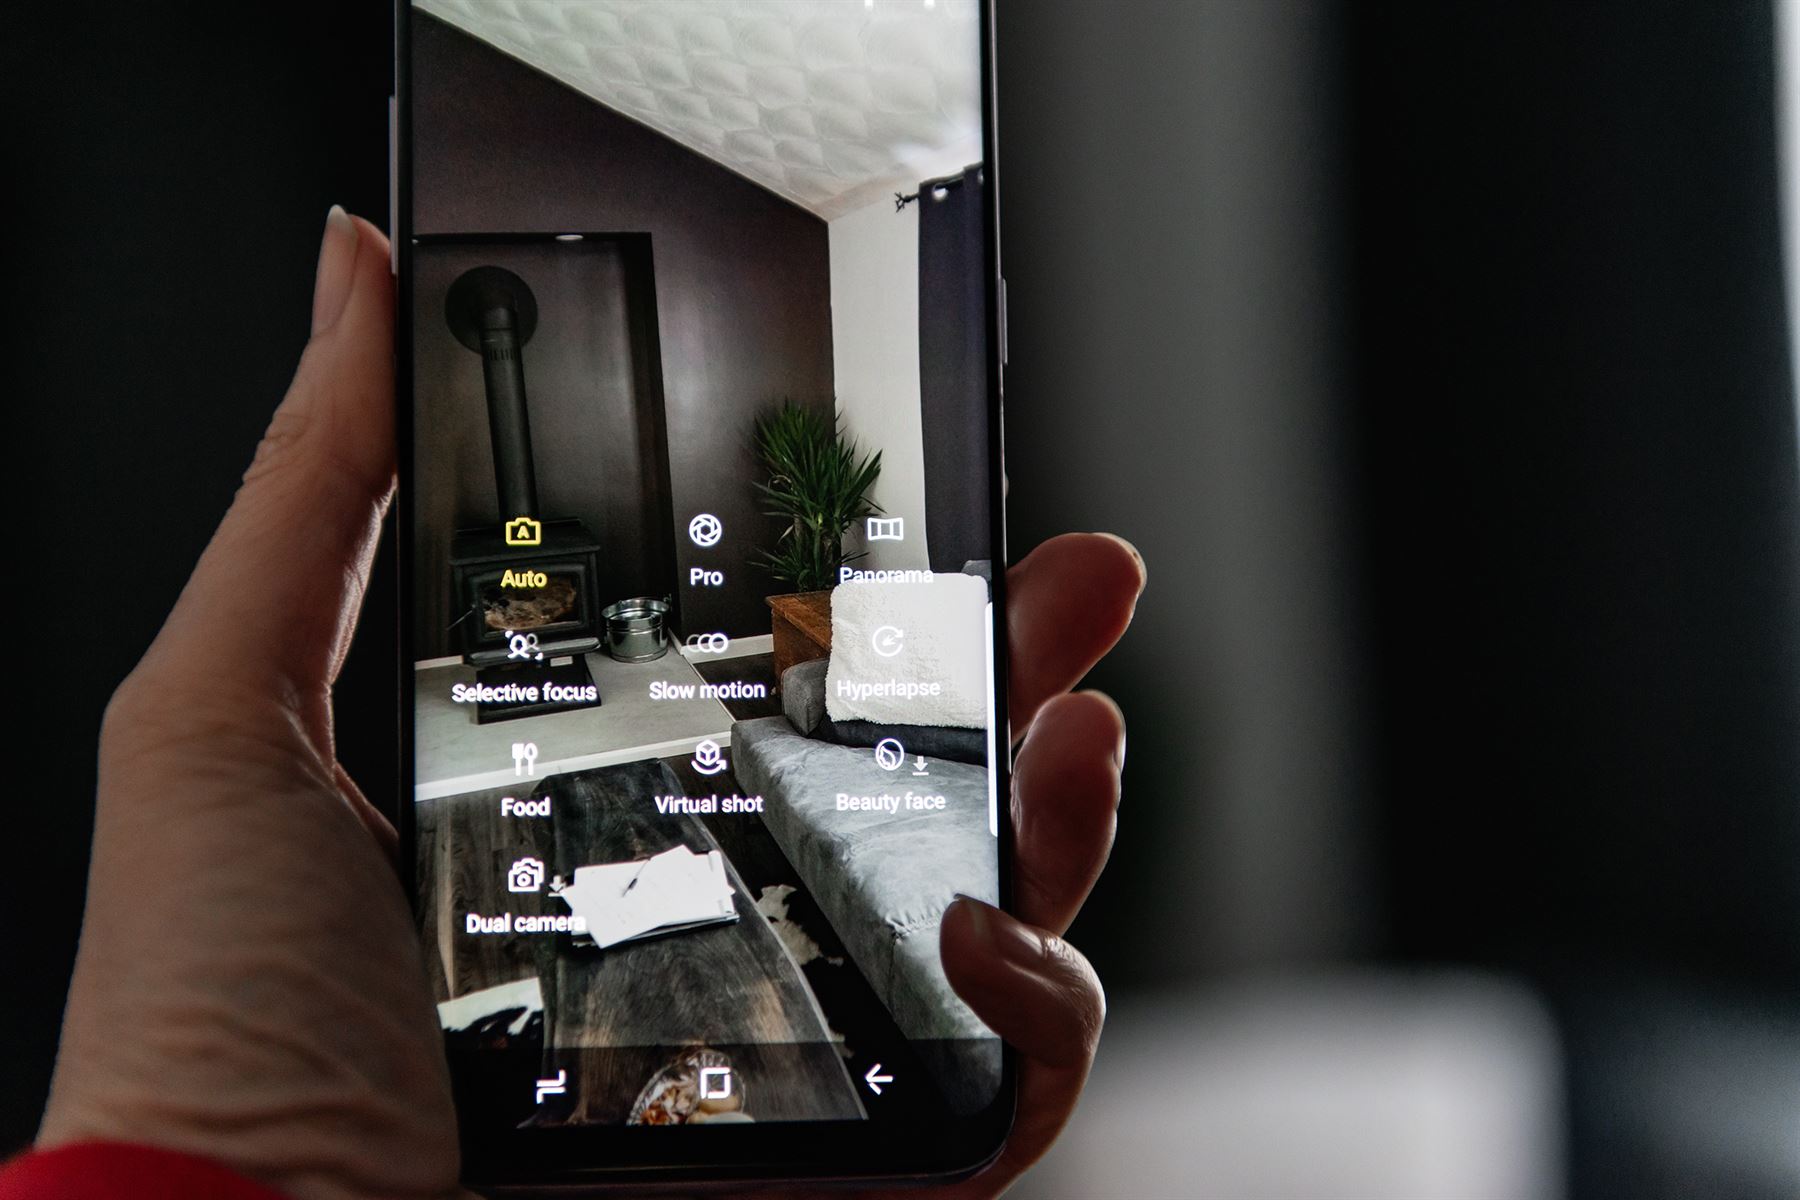
Panorama is of course handy for wide landscapes or if you want to fit more of the scenery in your shot. The food function helps boost colours, sharpness and allows you to focus on your subject, while blurring the perimeters.
A favourite of mine is selective focus. This is particularly great for isolating a subject and blurring out the background. Great for portraits. This is already built in on the newest iPhone in portrait mode, making your photography skills appear aces.

My advice would be to open these settings up no matter what smart phone you have and give them a try.
While so much can be done to make great shots with your phone, they rarely replace the skill, eye and convenience of hiring a professional photographer. A professional no longer has to think about camera settings because we already know them like the back of our hand, we know about light and composition and we are usually great at creating things on the fly if need be. We can also take photos of YOU. Selfies just cannot replace a great professional portrait. If you are in need of a personal branding session and don’t feel like playing photographer yourself, get in touch, I’d love to work with you.


